I made this Tachometer using IR sensor!
Steps to make this tachometer:
1. Put the Arduino Nano on the breadboard
2. Connect the SDA and SCL pins of OLED to A4 and A5 respectively.
3. Connect the OUT pin of the IR sensor to digital pin 2 of Arduino nano and give +5v and GND connections.
4. Upload the code. (The code is pinned in the first comment.)
Explanation:
The current time in milliseconds is stored in the 'currentMillis' variable.
If the time difference between the current time and the previous time stored in previousMillis is equal to or greater than 1000 milliseconds (1 second):
The interrupt is temporarily detached to avoid conflicting with the counter variable.
The RPM value is calculated by dividing the counter value by 2 (assuming each revolution triggers two interrupts) and multiplying it by 60 to convert it to RPM.
The counter is reset to 0.
The interrupt is reattached to the IR sensor pin.
The previousMillis is updated to the current time.
The OLED display is cleared.
The RPM value is displayed on the OLED display.
Видео I made this Tachometer using IR sensor! канала THE ELECTRONIC GUY
Показать
Комментарии отсутствуют
Информация о видео
Другие видео канала
 10 Easy ESP32 Projects for Beginners in 2023
 DIY Step Counter using ESP32!
 Level Measuring Device using #esp32
 How to make a Flappy Bird Game using #esp32?
 Crypto Price Ticker using #esp32project
 Stocks Price Ticker using ESP32!
 New Arduino UNO R4 WiFi In-depth Review
 Internet Clock Using ESP32 Web Server!
 An Electronic Dice #arduinoproject
 Scan nearby WiFi networks using ESP32!
 A Smart way to Display a Message #esp32project
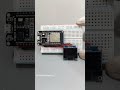 Wi-Fi strength checker using ESP32! #esp32
 Boost Your Reflexes with this #ArduinoProject
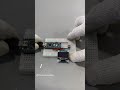 DIY Stopwatch made in 30 seconds using #arduino
 Digispark ATtiny85 with Arduino 2.0: How to program?
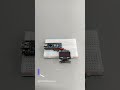 Temperature controlled fan control using #arduino
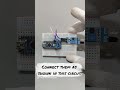 Automatic garage door using Arduino! #arduinoproject
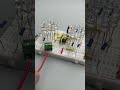 16 LED circuit on a Breadboard!
 Operating a Servo Without an #arduino!
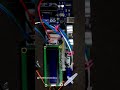 Simple Ultrasonic Sensor Project #arduino