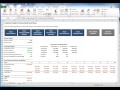
@RISK QuickStart - Step 6: Analyze the Results
This is 'Step 6: Analyze the Results' of the interactive tutorial that is designed to teach you how to use @RISK software by walking you through an actual risk model.
The Quick Start model shown in the videos is bundled with the software. You can access the model by clicking on the Quick Start link shown in the software welcome screen at launch, or by selecting Example Spreadsheets from the software Help menu.
Видео @RISK QuickStart - Step 6: Analyze the Results канала Palisade
Показать
Комментарии отсутствуют
Информация о видео
Другие видео канала
 @RISK QuickStart - Step 5: Run the Simulation
 Value-at-Risk Calculation - Historical Simulation
 Explanation of Regression Analysis Results
 PrecisionTree Quick Start - Step 3: Enter probabilities and values
 @RISK QuickStart - Step 2: Add @RISK Outputs
 Risk Analysis and Uncertainty: A Simple Case Study
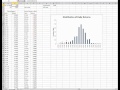 Value At Risk explained
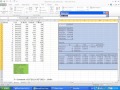 Using Multiple Regression in Excel for Predictive Analysis
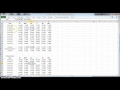 Calculating the Variance Covariance Matrix using stock Prices
 Basic Excel Formulas - Add, Subtract, Divide, Multiply
 Import Data and Analyze with MATLAB
 Offset Function in Excel (Demo Module 02 Class#37)
 @RISK Guided Tour - Basic Features - Sensitivity Analysis
 Neural net example
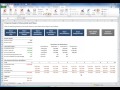 @RISK QuickStart - Step 1: Review the Model
 Example Model - Insurance Claims
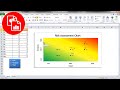 Create a Risk Assessment Chart
 Offset Function in Excel with easy example : Step by Step
 Multiple Regression in Excel