ESP32Cam AI Thinker press the button to take a picture simple code
Required Components:
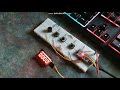
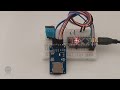
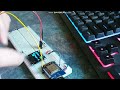
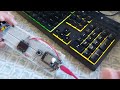
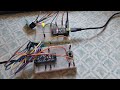
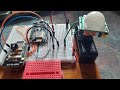
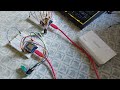
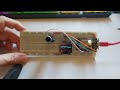
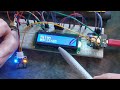
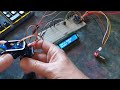
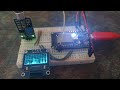
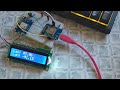
1. ESP32-CAM AI THINKER
2. Push button I use GPIO 16
3. Onboard LED GPIO 4
1. Initial Setup (setup()):
• Camera Initialization:
o The ESP32-CAM is configured to use specific pins for the camera module. These pin assignments are predefined (e.g., Y2_GPIO_NUM for the OV2640 sensor).
o The esp_camera_init() function initializes the camera with these settings. If it fails, the system outputs an error and stops.
• SD Card Initialization:
o The SD card is set up using the SD_MMC.begin() function. This initializes the SD card reader connected to the ESP32-CAM.
o If successful, the system confirms the SD card is ready to store images.
• Button Configuration:
o The GPIO pin connected to the button is configured as an input.
o The code monitors this pin for a button press event.
________________________________________
2. Main Loop (loop()):
• Button Press Detection:
o The code constantly checks the button’s state using digitalRead().
o If a press is detected, it proceeds to capture an image.
• Image Capture:
o The esp_camera_fb_get() function captures an image from the camera module.
o The image is stored in a buffer (camera_fb_t structure), containing data like image size and pixel data.
• Save Image to SD Card:
o A unique filename is generated for each photo (e.g., /photo_12345.jpg).
o The file is opened on the SD card using SD_MMC.open().
o Image data is written to the file using file.write(fb-buf, fb-len).
• Cleanup:
o Once the image is saved, the file is closed, and the camera buffer is freed using esp_camera_fb_return() to avoid memory leaks.
Code:
https://github.com/ukkokalevala/ESP32Cam_Take_Pics.git
Видео ESP32Cam AI Thinker press the button to take a picture simple code канала Electricum
Комментарии отсутствуют
Информация о видео
10 января 2025 г. 22:15:13
00:11:44
Другие видео канала