No Soldering! Repair Broken Led Lamp Using Only Flame
Welcome to our DIY video on how to repair a broken LED bulb! LED bulbs are a great energy-efficient option for your home, but they can sometimes break or stop working. In this video, we'll walk you through the steps to fix a broken LED bulb so you can get it working again in no time.
First, you'll need to gather a few supplies. You'll need a small screwdriver, a pair of needle-nose pliers, and some electrical tape. You'll also need a replacement LED filament, which you can purchase at most hardware or home improvement stores.
Once you have your supplies ready, turn off the power to the light fixture where the broken LED bulb is located. This is an important safety step to make sure you don't get shocked while working on the bulb.
Next, use the small screwdriver to remove the broken LED bulb from the light fixture. Be careful not to touch the glass portion of the bulb, as it can be very hot.
Once the broken bulb is removed, use the needle-nose pliers to remove the broken filament from the bulb. You may need to gently wiggle the filament back and forth to get it out.
Now it's time to install the replacement filament. Carefully insert the new filament into the bulb, making sure it's securely in place. Use the electrical tape to secure the filament in place if needed.
Finally, re-install the bulb back into the light fixture and turn the power back on. Your broken LED bulb should now be repaired and working again!
Thanks for watching, we hope you found this video helpful. Don't forget to like, comment and subscribe for more DIY videos.
Видео No Soldering! Repair Broken Led Lamp Using Only Flame канала The Maker
Показать
Комментарии отсутствуют
Информация о видео
Другие видео канала
 Razor Sharp! Sharpen Drill Bit in 2 Minutes With This Method
 Hidden Feature! Few Know That Spirit Level Can Be Used Like This
 Locksmiths Go Crazy! Open All Locks in 2 Minutes With This Method
 Why Shrewd Drivers Put Syringe in Car Seat? Car Hacks Will Make Your Car Level 100
 60 Year Old Mason Was Stunned by This Method! Repair Hole in Drywall in 5 Minutes
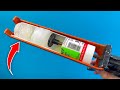 Don't Throw Dried Silicone! Reuse Dried Silicone With This Method
 Few People Know This! Insert This to Soldering Iron and Fix Everything
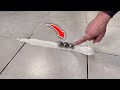 I Have Been Laying Tiles For 30 Years, But Never Seen Such Technique
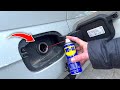 Spray WD-40 This Part of Your Car and You Will Be Amazed With Result!
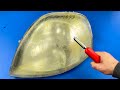 Amazing Method! Make Headlights Like Crystal Clear in 5 Minutes With This Trick
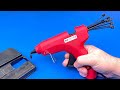 Ingenious Method! Fix All Plastic Parts Using Cable Ties
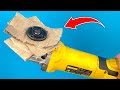 Why it is Not Patented? Insert Cardboard Into Angle Grinder and Amazed
 You Won't Believe What Happens When You Pour Super Glue on Aluminum Foil
 Secret Features of Tools You Use Every Day That You Don't Know
 Method Surprised 50-year-old Carpenter! Put Aluminum Foil To Hinge and Be Amazed
 Put soap bar in silicone and you will be amazed with results
 Method Surprised 50 Year Old Tiler! Fix Tiles Without Removing
 No One Knows This Can Be Done With a Jigsaw! Hidden Features of Jigsaw
 Method Surprised 50-year-old Mason! Repair Drywall Hole in 5 minutes
 Hidden Features of Tools You Use Every Day That You Don't Know