How to remove W900 interior sleeper panels! (Part 2)
Just because you cannot see it doesn't mean it is not there. Even with paperwork you need to conduct a thorough inspection. Next on the to do list is cleaning the floor, sanding, priming, and replacing the bunk heater. Stay Tuned.
Видео How to remove W900 interior sleeper panels! (Part 2) канала Builds Done Right
Видео How to remove W900 interior sleeper panels! (Part 2) канала Builds Done Right
Показать
Комментарии отсутствуют
Информация о видео
Другие видео канала
 Just a few more lights to remove before priming the ceiling/walls.
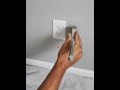 Removing outlet covers and existing lighting. Don't paint around them just remove them all.
 Finally removing the lights in the kitchen and ceiling register(s).
 Almost done with the sleeper. Things you need to look for when purchasing a semi-truck.
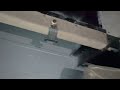 Continuing with the sleeper. Removing that old bunk heater, dirt, etc.
 W900 bunk heater removal.
 How to install home LED lights. Part 1
 Fixing a botched crown molding job. Part 2
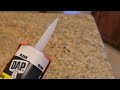 How to cut the caulk tube at the correct angle for installation.
 Fixing a botched crown molding job. Part 1
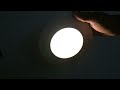 How to install home LED lights Part 2.
 How to quickly repair a hole in your wall. All finished up. (Part 3)
 How to quickly repair a hole in your wall. (Part 2)
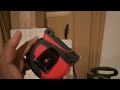 How to quickly repair a hole in your wall (Part 1).
 First coat of primer. Saying goodbye to the brown ceiling and walls.
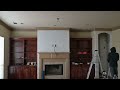 Time to put some primer on these walls!
 Finally... Lights, plates, and ceiling register have been removed.
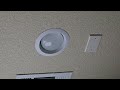 Starting to get it done. Removing ceiling plates, register, and lights.
 Quick Walk Through of W900 Sleeper Refrigerator Removal
 How to install bunk heater inside a W900. Shoreline bunk heater replacement (Part 2)!
 How to replace Bunk Heater Unit (A/C & Heater) Kenworth W900.....