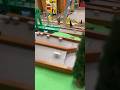
Simple DIY Clamp Rack
I made a very simple clamp rack to hold all the clamps i currently have, and left some extra room for additions in the future. I used simple shelves with a small lip to hold the large and medium clamps, a straight shelf for the small clamps, and long bolts to hold the spring clamps. This was really easy to make out of very simple list of materials. Enjoy!
Check out my Patreon here: https://www.patreon.com/bentardif
Tools I use: https://www.amazon.com/shop/bentardif
Follow me on Instagram:
https://www.instagram.com/bentardif/
Music by: David Cutter Music - http://www.davidcuttermusic.com
Видео Simple DIY Clamp Rack канала Ben Tardif
Check out my Patreon here: https://www.patreon.com/bentardif
Tools I use: https://www.amazon.com/shop/bentardif
Follow me on Instagram:
https://www.instagram.com/bentardif/
Music by: David Cutter Music - http://www.davidcuttermusic.com
Видео Simple DIY Clamp Rack канала Ben Tardif
Показать
Комментарии отсутствуют
Информация о видео
Другие видео канала
 Back and forth #marblemachine #marblerun #bridges #rubegoldberg #asmr #kineticsculpture #marblemaze
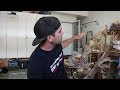 Why I started building Marble Machines
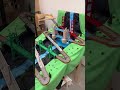 Zig Zag #marblemachine #marblerun #bridges #rubegoldberg #asmr #woodworking #maker #kineticsculpture
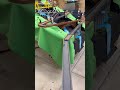 Best for last #marblemachine #marblerun #bridges #rubegoldberg #asmr #woodworking #kineticsculpture
 Slow it down #marblemachine #marblerun #bridges #rubegoldberg #asmr #woodworking #maker #slomo
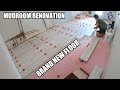 Mudroom Renovation Part 11 - Rank and Tile
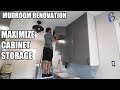 Mudroom Renovation Part 14 - It's Raining, it's Storing
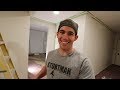 Channel Update! House Reno in Full Swing
 Mudroom Renovation Part 16 - Oh Sheet
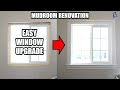 Mudroom Renovation Part 17 - Panic! At the Window
 Shop Build - Compacting the Ground
 Cluckingham Palace Part 6, Maximum S-EGG-curity
 Cluckingham Palace Part 3, Great Eggspectations
 Mini Golf Marble Machine Build, Part 5 (Track número 3)
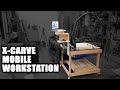 Ultimate X-Carve Workstation
 Making a Corgi Key Holder
 Montessori Toddler Kitchen Helper Stand (Learning Tower)
 Cluckingham Palace Part 5, Egg Cetera
 Mudroom Renovation Part 8: Shocking Update
 Backyard Renovation Part 5: Final Preparations